A tub to shower conversion can sometimes keep the existing drain. The answer depends on the drain center, the alcove, the tray geometry and the connection below the floor—not on the words “offset drain” alone.
That is good news if the new shower stays in the old tub footprint. It is not permission to order a tray before measuring.
Our 36 × 72 inch offset-drain XPS shower tray is one option for this kind of project. It is not an automatic fit for every 60-inch alcove. Here is how to check the difference before the old tub comes out.
Why the drain can often stay in the same footprint
An alcove tub is commonly 60 inches long and 30 to 32 inches wide, with the drain toward one end of the footprint. If the new shower uses the same walls and a compatible drain position, the existing branch line and trap may be reusable.
The work changes when the new tray expects the drain somewhere else. Moving it can involve opening the floor, altering the trap or branch line, repairing the structure and arranging local inspection. The exact scope depends on the building and the authority having jurisdiction.
So the first question is not “How do we move the pipe?” It is “Does the proposed tray place its outlet where the existing pipe can connect correctly?”
What a 36 × 72 offset-drain tray does—and does not prove
Our product information for the 36 × 72 inch offset model places the drain outlet 16 inches from the end. That dimension gives the installer a useful starting point for an end-drain layout.
It does not make a 72-inch tray identical to a 60-inch tub opening.
If a tray needs trimming, the drain-end reference, the permitted trimming zone and the factory-set falls must all be preserved. Do not cut twelve inches from whichever end is easiest and assume the outlet will still land correctly. Do not cut into the drain area or change a slope without an approved drawing.
For our preformed XPS shower tray, send the alcove and drain dimensions before ordering. We can confirm whether the offset model is suitable, whether trimming is permitted for that layout, or whether a made-to-drawing tray is the cleaner answer.
The factory-set fall removes the need to form the tray slope in mortar. It does not compensate for the wrong outlet position, an unsupported tray or an incorrect drain connection.
When keeping the drain is worth checking
Keeping the existing drain is worth reviewing when:
- The shower stays in the existing tub footprint.
- The existing drain and trap are serviceable and permitted for the proposed assembly.
- The measured drain center agrees with the confirmed tray drawing.
- The tray can be fully supported as specified, without unsupported voids.
- The drain body, trap and tray connection can be detailed as one system.
Relocation or a different tray design may be necessary when:
- The shower moves to another wall or changes to an incompatible corner layout.
- The drain position falls outside the confirmed outlet and connection zone.
- The existing trap, pipe or subfloor is damaged, inaccessible or unsuitable.
- The required finished floor height cannot accommodate the tray and drain assembly.
- Local code or the project design requires a different arrangement.
A tape measure can settle the first geometry question. It cannot certify the plumbing below the floor. Have the installer verify that part before demolition closes the options.
The tray is only one part of the conversion
The walls still need a stable specification. Our factory starting point for standard shower walls on 300 mm steel studs is 10–12 mm XPS backer board. Wider framing, pipe enclosures and other assemblies need their own thickness review.
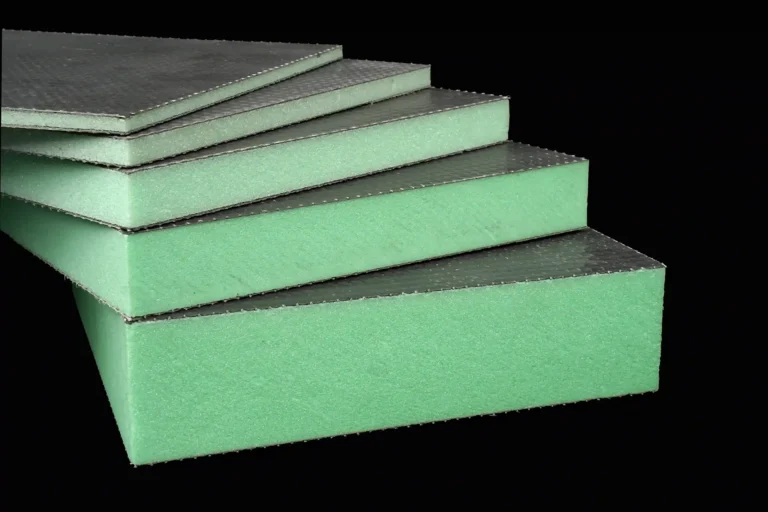
The coated XPS core supplies the board and tray substrate. The complete wet-area result still depends on sealed board joints, internal and external corners, tray perimeters, penetrations and the drain connection. A waterproof board does not make an untreated joint waterproof.
Our installation guidance states that at temperatures of at least 18 °C the joint sealant can skin over in about one hour. That is a material condition, not a universal promise that every bathroom is ready for the next trade in one hour. Follow the actual installation instructions and local flood-test requirements before tiling.
Tile format also needs to suit the tray slope and drain geometry. For mosaic tiles of 2 inches or smaller on the tray, our installation guidance calls for epoxy grout. Do not assume that a tile suitable for a flat bathroom floor is automatically suitable for every shower tray.
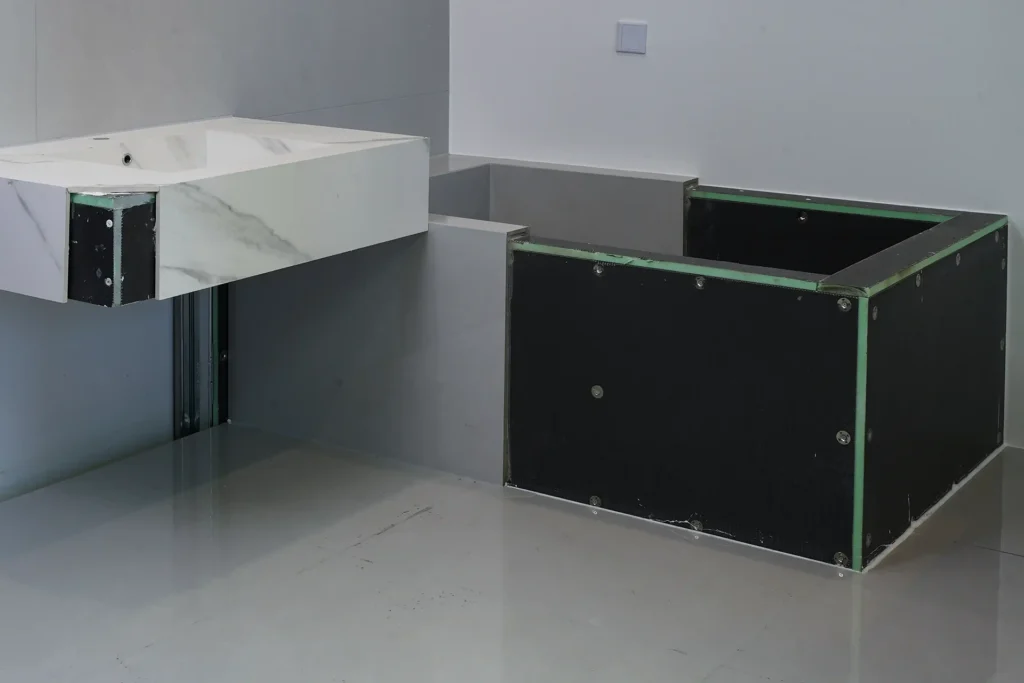
If a hotel or multi-bathroom project converts one tub and keeps another, the same material family can continue around the retained bath with our preformed XPS bathtub panel. That is a separate application; it is not part of the shower tray’s drain connection.
7003-1 lists 71 models and identifies the specific samples tested. The tested shower-receptor sample completed the specified 1,335 ± 22 N load What the test report and listing support
Report J25101procedure without failure and the specified 40 ± 5 °C, 30-minute spray test without leakage at the wall-floor junction.
Those are useful results under the report’s conditions. They do not mean that all 71 models were individually put through every test, and they do not turn an unreviewed site modification into a tested configuration.
The shower system is ICC-ES PMG-1804 listed. Install the listed system according to the manufacturer’s instructions and the applicable code, and keep local acceptance with the authority having jurisdiction.
Measure these before we confirm the tray
Send us:
- Alcove length and width at floor level.
- Drain center to the nearest end wall and to the side wall.
- Drain pipe or drain body dimensions, plus a photograph of the connection where accessible.
- Subfloor type and the available height for the tray and drain assembly.
- A photo of the tub footprint and any drawing for the proposed shower.
With those details, we can review the tray drawing instead of guessing from a nominal size. If a custom tray is required, the drain position and trimming zones belong on the confirmed drawing before production.
FAQ
Can every tub-to-shower conversion keep the existing drain?
No. It is worth checking when the shower remains in a compatible tub footprint and the measured drain position agrees with the tray drawing. A new layout, an incompatible outlet or an unsuitable existing connection can require relocation.
Does a 36 × 72 tray fit a 60-inch tub alcove?
Not automatically. The tray is longer than the nominal opening, so the permitted trimming zone, drain-end reference and factory-set falls must be checked. Send the actual alcove and drain measurements before ordering.
Does the offset tray meet code?
The shower system has PS 106 test evidence and ICC-ES PMG-1804 listing, subject to their stated scopes. The exact tray, drain connection, installation and local acceptance still need to match the applicable instructions and code.
Does keeping the drain make the whole conversion a one-day job?
No. A preformed tray removes hand-formed slope work, but demolition, plumbing verification, sealant conditions, flood testing and tiling still have their own sequence. Set the program from the actual project scope.
What if the alcove is not a standard size?
Measure it and send the drawing. Do not solve an unusual opening by cutting through a drain zone or changing the tray falls. A made-to-drawing tray may be the better specification.
Your turn
Send us the alcove length and width, the drain center from both adjacent walls, and photos of the floor and drain connection. We will review the offset tray, identify any trimming or custom-drawing requirement, and return the relevant board and accessory specification—one working day. Ask for a Project Sample Kit if you also need to inspect the board, tape, sealant and drain components.
Send your alcove and drain measurements | Review the complete wet-room system | Check the tray-to-tile installation sequence
Converting a tub without moving the drain?
Tell us your alcove size and drain position—we will confirm the tray details and send you a project sample kit.