
Recessed XPS Shower Niche
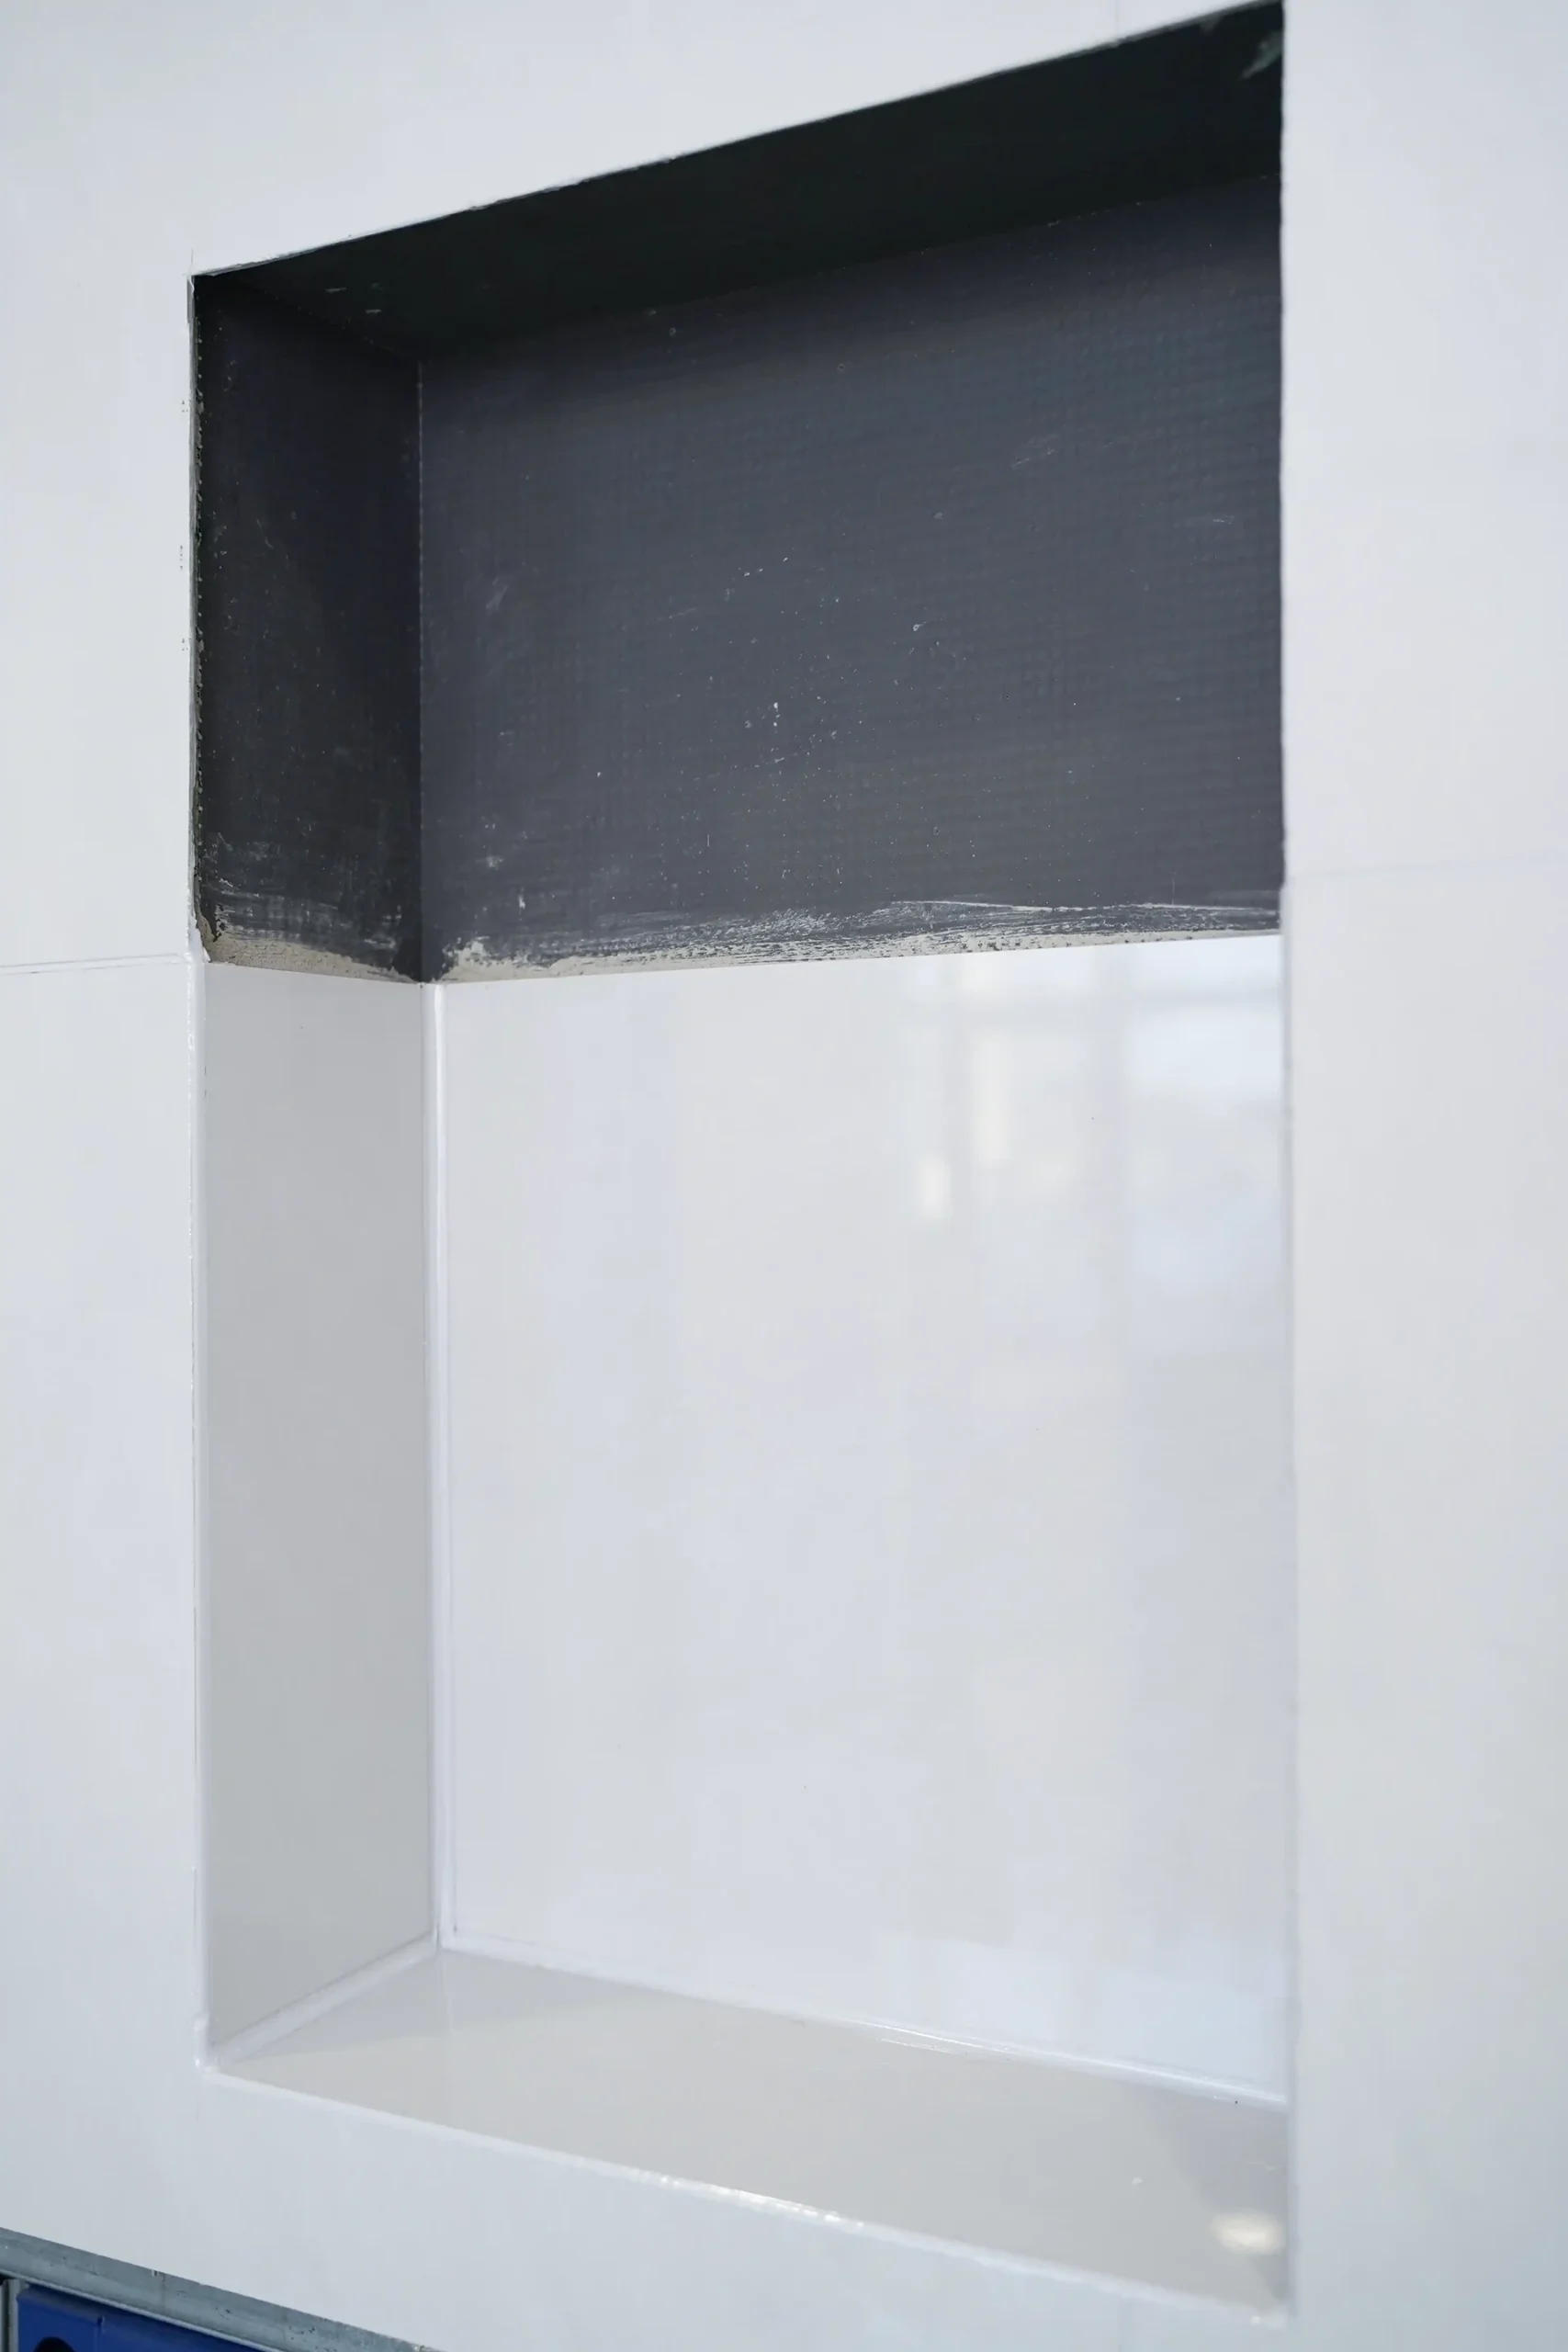
A preformed shower niche that never sees a hand-cut corner. One molded, coated XPS unit — set it between the studs, tape the perimeter, tile. ICC & CE certified factory.
| Material: | Coated XPS, ready to tile |
| Water absorption (96 h): | 0.8% |
| Compressive strength: | 361 kPa |
| Sizes: | Custom widths and depths |
Overview
Here is where shower niches usually fail: not in the middle of the back wall, but in the corners, where a site-built box gets wrapped in board and every inside corner becomes a taped joint sitting in direct splash water for ten years. Two inside corners, two shelves, one drain point — that is a lot of seams to bet a bathroom on.
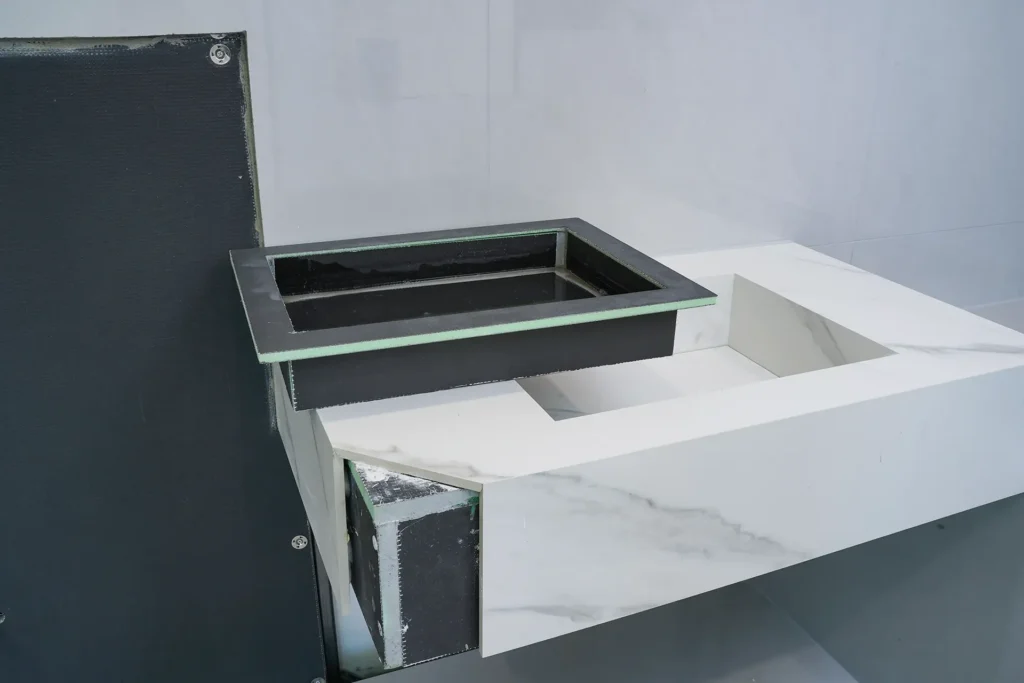
This niche is the opposite of that. It arrives as one preformed unit — coated XPS, molded corners, no inside seams at all. The board system around it still follows the usual rules: 0.8% water absorption after 96 hours of immersion on the core, 361 kPa compressive strength, grade 0 mold resistance, every batch tested to EN 13164 at our ICC & CE certified plant. But the box itself has no joints to seal, because there is nothing to join.
Installation is a morning, not a week. Mark the stud bay, cut the boards around the opening, set the niche level on a bed of adhesive, and run self-adhesive mesh tape and sealant around the perimeter — the same joint system as the rest of the wall. Tile straight onto the coated face. No membrane, no curing wait, no second trade coming back to redo the waterproofing.
Where it does not belong: carrying structural load (shelves hold toiletries, not people), and behind a tiled surface that needs a fire rating — check the local code first. For what it is built to do — a dry, tiled recess in a wet wall — it is the least failure-prone way to get one.
Applications
Shampoo and toiletry recesses in shower walls
Feature niches in bathroom feature walls
Hotel and apartment wet-room retrofits
Prefabricated bathroom pod assembly
See it mapped in the bathroom application diagram >>
Fixing
Cut the board opening to the niche dimensions within the stud bay, level the unit on a bed of tile adhesive, then run self-adhesive mesh tape bedded into waterproof sealant around the full perimeter. The full sequence is in our installation guide — free with a sample request.
Complete the System
One material system, one fixing pattern — these usually ship together.