
Waterproof Sealing Tape
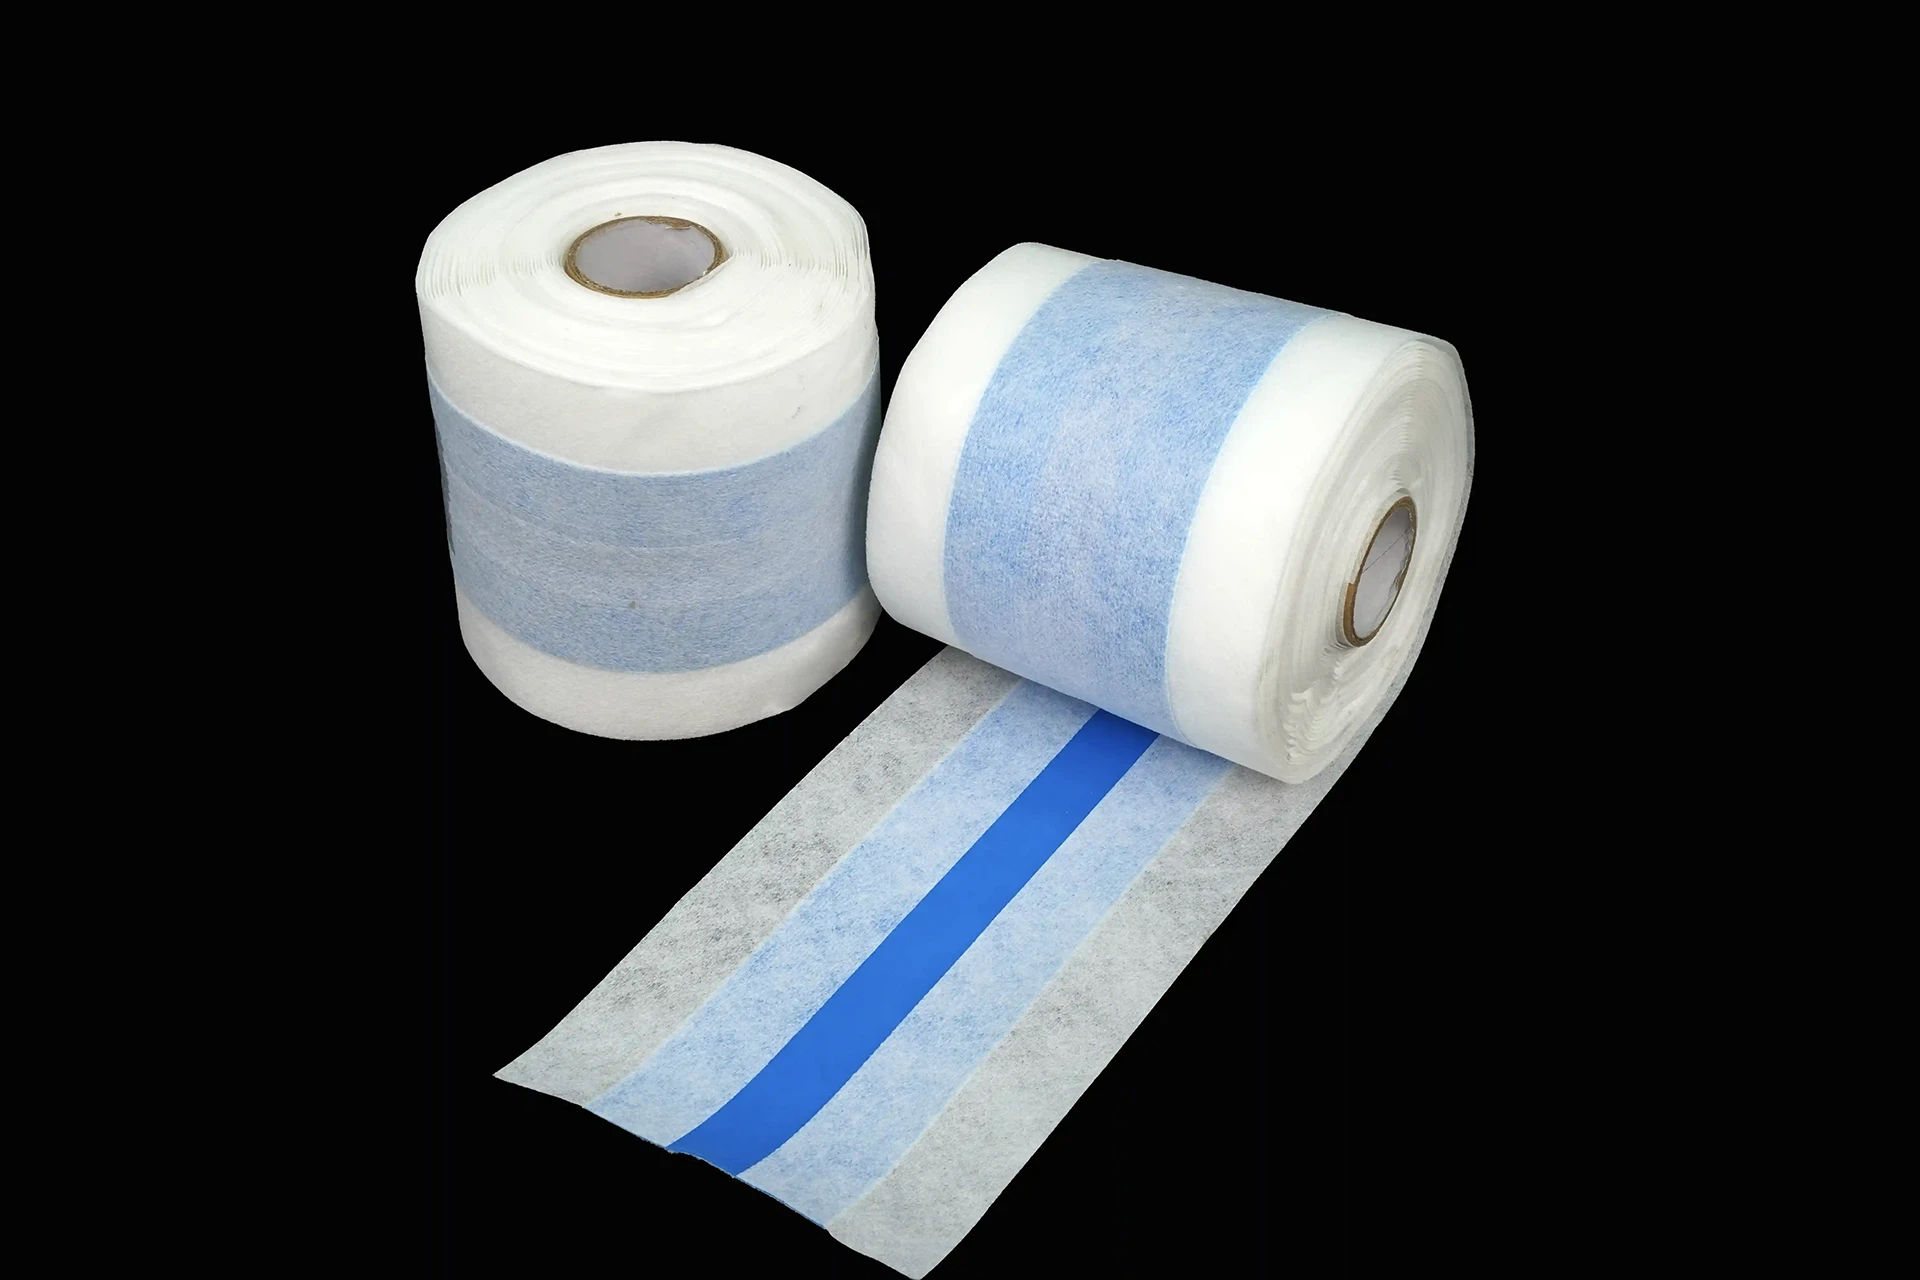
The joint sealer. Self-adhesive elastic tape that waterproofs board joints, corners and pipe penetrations — and bonds with the tile adhesive going over it.
| Core: | Elastic, waterproof |
| Backing: | Self-adhesive |
| Bonds with: | Tile adhesive and sealant |
| Use on: | Joints, corners, pipe penetrations |
Overview
The weakest point of any panel system is never the panel. It is the 10 mm joint between two panels, the inside corner where the wall turns, the hole where the pipe comes through. Water does not test the board — after 96 hours of soaking, our board holds at 0.8% absorption. Water tests the seams, and a seam sealed with rigid cement filler cracks the first time the building moves with a season change.
This tape is the elastic answer. The core stays flexible after it is buried, the self-adhesive backing seats it on the board without priming, and the face bonds with the tile adhesive and sealant that go over it. You centre it over the joint, press it down, coat it, and tile. Where a rigid filler would have cracked open a channel for water, the tape flexes and stays sealed.
It is also the fastest part of the job. A crew can seam a whole shower enclosure in minutes, and there is no mixing, no curing wait and no going back to redo a cracked line. Pair it with our backer board and the fixing screws and the whole wall behaves as one system — rigid where it should be, elastic exactly where it has to be.
One honest boundary: this tape seals joints and details. It is not a substitute for the board — a wide gap or a hollow behind the joint still needs panel, fixings and frame, and for a perfectly crisp corner the preformed corner pieces do a neater job than any folded tape. Seal the detail, build the structure, and the wet room holds.
See these accessories up close in our accessories video.
Applications
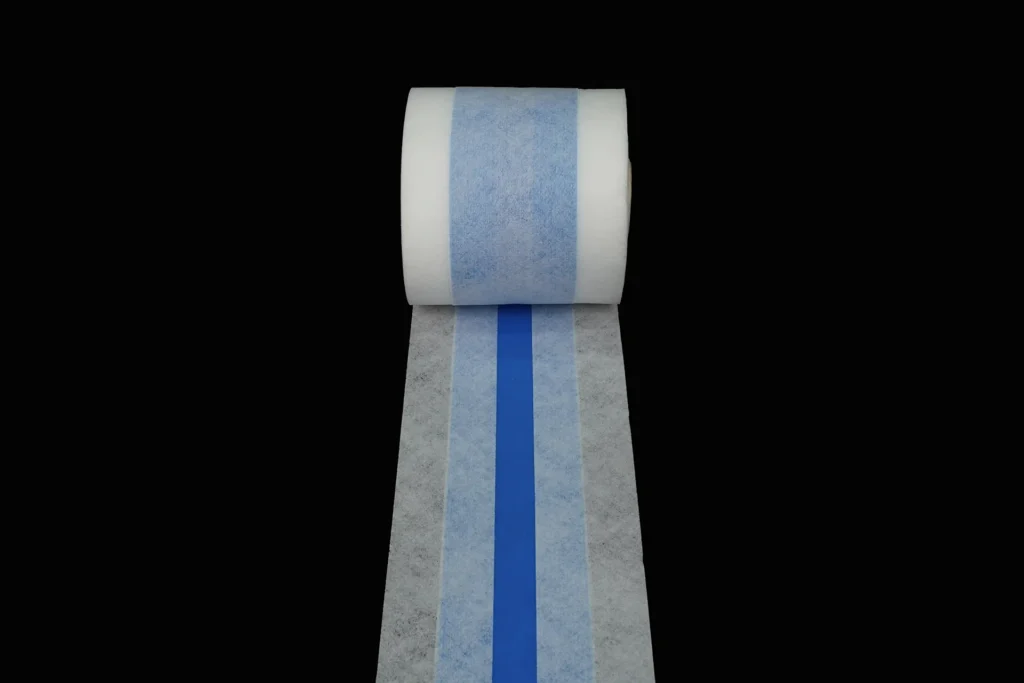
Board joints in wet rooms
Internal and external corners
Pipe penetrations and boxing
Wet room floors before tiling
Shower tray and niche detailing
Fixing
Surfaces clean and dry, tape centred over the joint and pressed firm from the middle out. Coat the tape with waterproof sealant and bed the edges down, treat screw heads the same way, then tile straight over once the sealant has skinned. For corners, fold the tape in and lock it with sealant; for a crisp finish, swap in the preformed corner pieces. The full sequence is in our installation guide — free with a sample request.
Complete the System
One material system, one fixing pattern — these usually ship together.