
A wet room built on preformed XPS elements comes down to eight checks. Skip one and the failure shows up in year two, behind the tile, where repairs cost ten times the install. Here is the sequence our factory recommends, in the order that actually matters.
1. Dry-Fit Everything Before Mixing Anything
Lay the tray, niche, curb and bench in place. Check the fall to the drain, the door swing, and where the tile lines land. A dry-fit takes 20 minutes. Ripping out a bedded tray takes a day.
2. Prep the Substrate
Clean, load-bearing, and as level as you can reasonably get it. XPS elements do not fix a moving floor — they waterproof it. Flex in the substrate becomes cracks in the grout, whatever board you use.
3. Bed the Tray on a Full Layer
Flexible tile adhesive, troweled — not five dots in the corners. Press the tray down, level it both ways, and leave it until the adhesive cures. The factory slope does the drainage work; your job is full contact.
4. Seal Every Joint the Same Day
Self-adhesive mesh tape over every joint and corner, bedded into waterproof adhesive. One system, one material, no mixing brands. Corners get the same treatment, cut and overlapped — never just butted.
5. Waterproof Every Penetration
Pipe entries, valve bodies, the drain flange: each one gets a collar or a seal, not a smear of silicone. Most of the “mystery leaks” we are shown trace back to an unsealed penetration, not to the board.
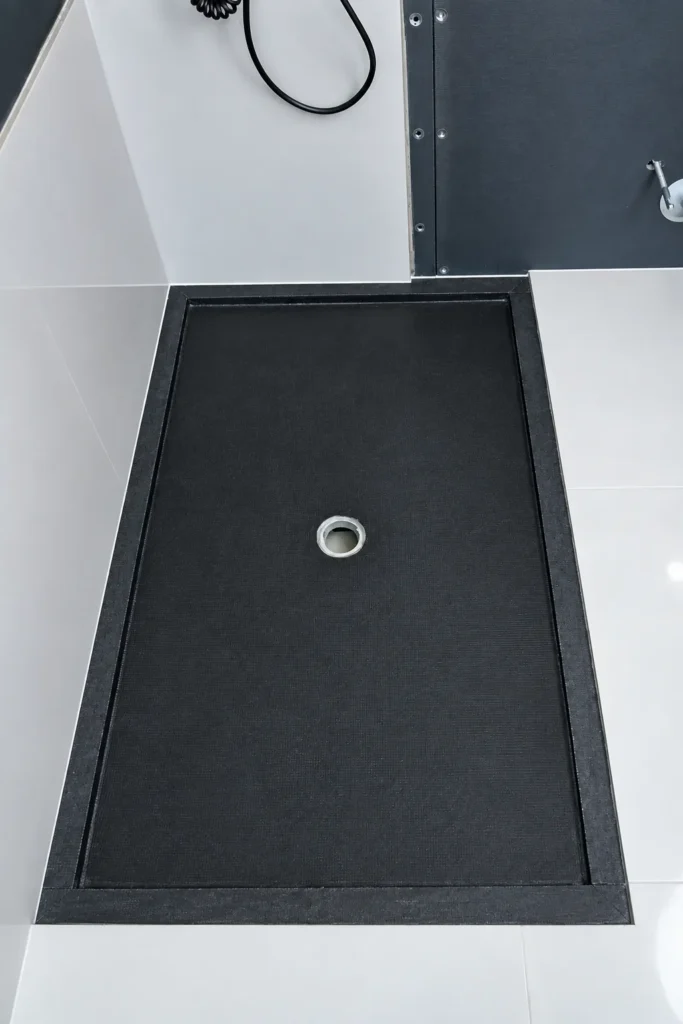
6. Flood Test Before a Single Tile
Dam the drain, fill the tray, and wait 48 hours. Mark the water line and check it twice. If the level moves, you have a leak you can still reach — this is the whole point of testing now and not after the tile.
7. Tile With the Right Adhesive
A flexible (S1 or better) tile adhesive, and respect the open time printed on the bag. Large-format tile on a wet wall with a stiff adhesive is a crack waiting to happen.
8. Leave Movement Joints
Perimeter joints and changes of plane: 3 mm minimum, filled with sanitary silicone, not grout. Tile moves more than XPS does. Something has to give, and it should be the silicone.
Run the eight in order and the wet room outlives the tile fashion. Our preformed shower trays, niches, curbs and benches come in standard sizes or cut to your drawings — ask for the spec sheet before you order.
Planning a wet room project?
Tell us your wall type, tile format and quantities — we will confirm the board specification and send you a project sample kit.