
Preformed XPS Bathtub Panel
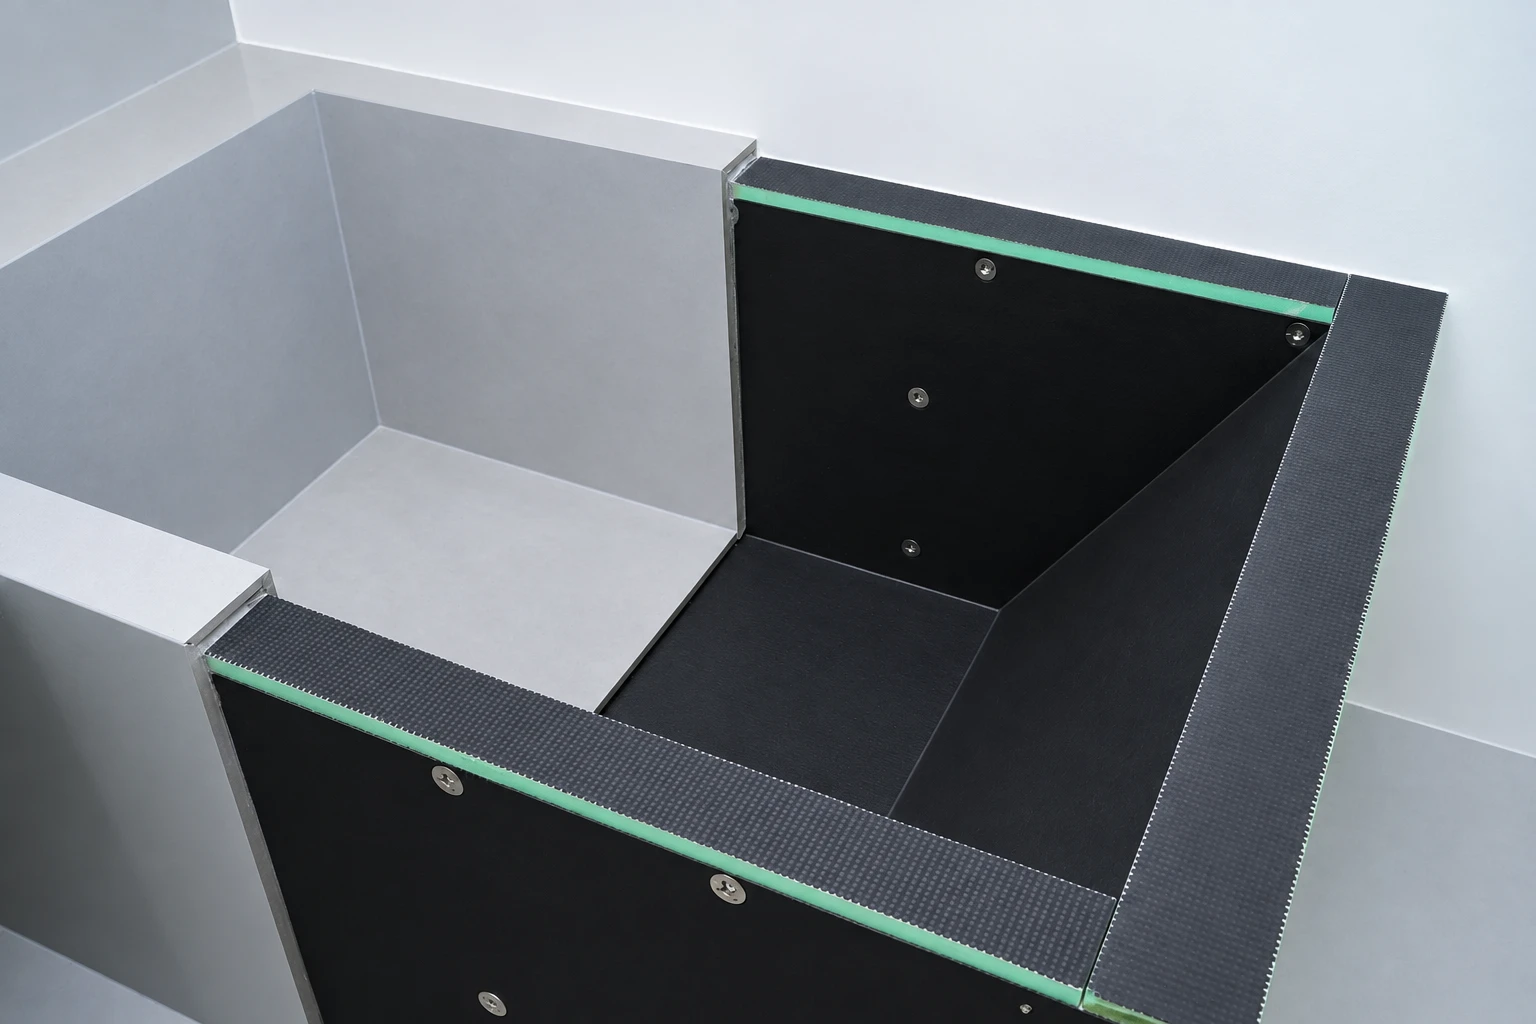
The ready-to-tile tub surround. A preformed XPS panel that wraps the tub, takes tile directly, and seals the junction where most bathroom leaks start. Cut to your tub’s height and length.
| Core: | Waterproof XPS, polymer-coated |
| Thickness: | 20 mm |
| Surface: | Ready for thin-set tile |
| Sizes: | Cut to drawing |
Overview
The leakiest metre in any bathroom is the junction between the tub and the wall. Water lands on the rim, sits in the caulk line, and works into the gap for two years before the ceiling below starts to stain. By then the argument about whose fault it was has already begun.
This panel is built to close that gap for good. It starts as the same batch-tested coated XPS as our backer board — 0.8% water absorption over 96 hours, 361 kPa compressive strength, a polymer face that takes thin-set tile adhesive directly. The factory cuts it to your tub’s height and perimeter length, so the crew is fitting a made-to-measure surround instead of improvising one from cement board offcuts.
Installation follows the wet-room sequence we use across the whole system: a quick-install frame at 300–400 mm spacing, 20 mm panels fixed with metal-washer self-tapping screws, every joint bedded in waterproof sealant with self-adhesive mesh tape, and a secondary rubber membrane run along the floor junction. The membrane is about the joint, not the panel — the panel itself is waterproof — but in a room stacked over someone’s living space we take the belt and the braces. Because the joints seal with elastic sealant rather than cement mortar, there is no curing wait: seal, flood-test, tile the same day.
One honest boundary: this is the tiled facing, not the structure. The tub stands on its own feet or a framed base, and a freestanding tub needs no skirt at all. Where the wall meets the tub, pair it with our preformed shower tray and corners and the whole wet zone runs on one material system.
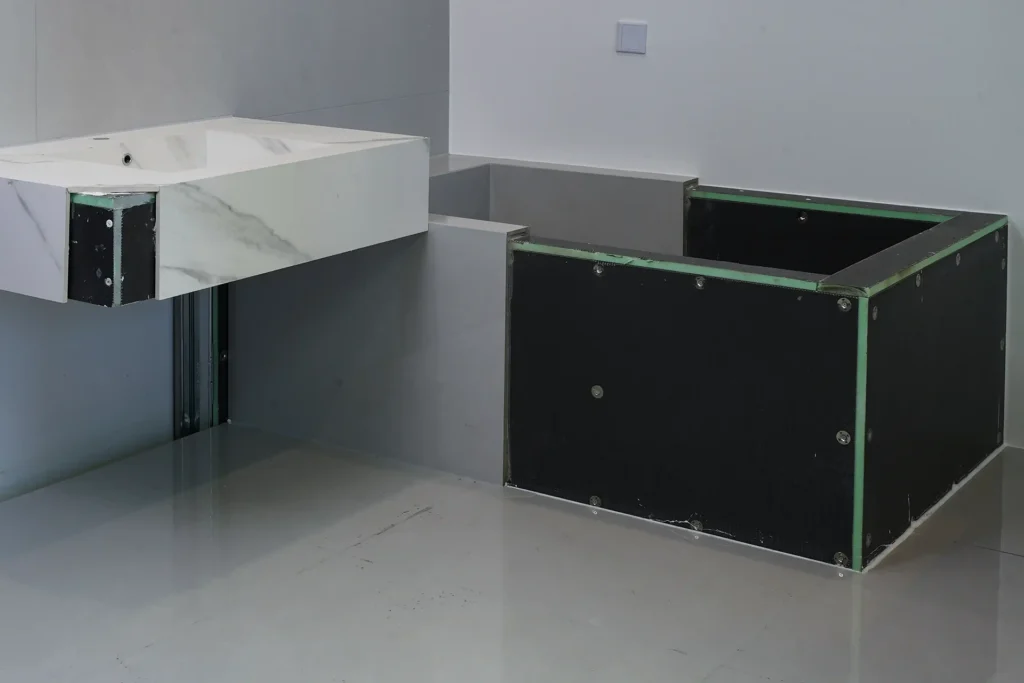
Applications
Hotel bathroom renovations
Residential tub surrounds
Rental and apartment refits
Spa and wellness rooms
Bathrooms over occupied rooms
See where it sits in the bathroom system >>
Fixing
Set the quick-install frame at 300–400 mm spacing and check the tub is level before you fix anything. Screw the 20 mm panels to the frame with self-tapping screws and metal washers, bed every joint in waterproof sealant reinforced with self-adhesive mesh tape, and run a secondary rubber membrane across the floor junction. Flood-test for 48 hours, then tile straight onto the polymer face. The full sequence is in our installation guide — free with a sample request.
Complete the System
One material system, one fixing pattern — these usually ship together.