
Backer Board Screws

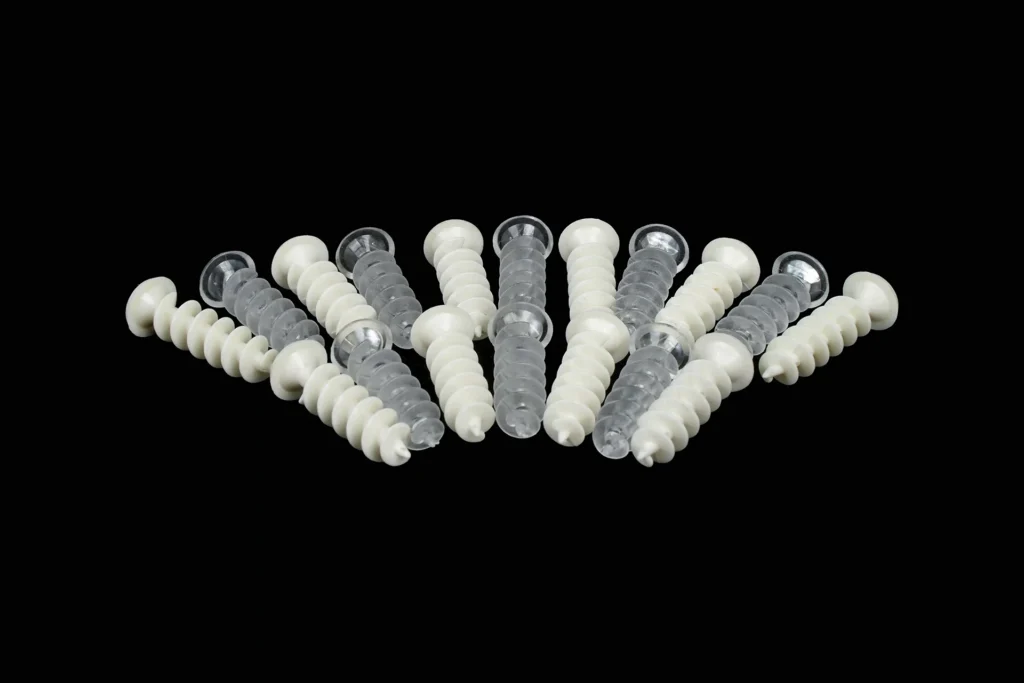
The stud-wall fixing. Corrosion-resistant self-tapping screws that bite into steel and timber studs, seat flush under a washer, and stay put in a wet room for ten years. Bulk supply, OEM packaging.
| Coating: | Corrosion-resistant, wet-room rated |
| Head: | Countersunk, seats flush |
| Pair with: | Stainless fixing washers |
| Spacing: | ~300 mm on studs |
Overview
The most common wrong fixing in a wet room is the drywall screw. It is cheap, it is everywhere, and it was designed for dry gypsum board in dry rooms: a black-phosphate coating that rusts the moment it lives inside a wet wall, and a thread made to hold paper-faced board, not a coated XPS panel. Two years later the stain bleeds through the silicone and the whole argument about whose fault it was begins.
These screws are the right answer to that specific problem. The coating is corrosion-resistant and rated for wet-room humidity, so the fixing buried behind your tile behaves in year ten the way it did on day one. The self-tapping point drills and threads in one action — no pilot hole in steel studs — which matters when you have three hundred of them to set before lunch. And the countersunk head is shaped to seat flush under a fixing washer, spreading the load across the board face instead of letting a bare screw head crush the foam core a little more every time the wall moves.
Pair them with the stainless washers and set them at roughly 300 mm spacing along each stud. Do not overtighten: the washer should seat firm and slightly recessed, not sunk halfway through the board — a crushed core under a tight screw is a loose tile waiting for its season.
Where they do not belong: solid concrete and brick walls, where an anchor does the job instead, and perpendicular board-to-board joins on thick panels, where textured fixing pins hold better. Match the fixing to the substrate and every layer of the wall does what it was built to do.
Applications
Steel stud wall framing
Timber stud wall framing
Board ceilings on framed structures
Renovation work over existing framing
Fixing
Set your stud lines at roughly 300 mm spacing, seat a stainless washer on each screw, drive the self-tapping point through board and into the stud until the head sits flush — firm, not crushed — then treat every joint with self-adhesive mesh tape bedded into waterproof sealant. The full sequence is in our installation guide — free with a sample request.
Complete the System
One material system, one fixing pattern — these usually ship together.