
Self-Adhesive Mesh Fabric
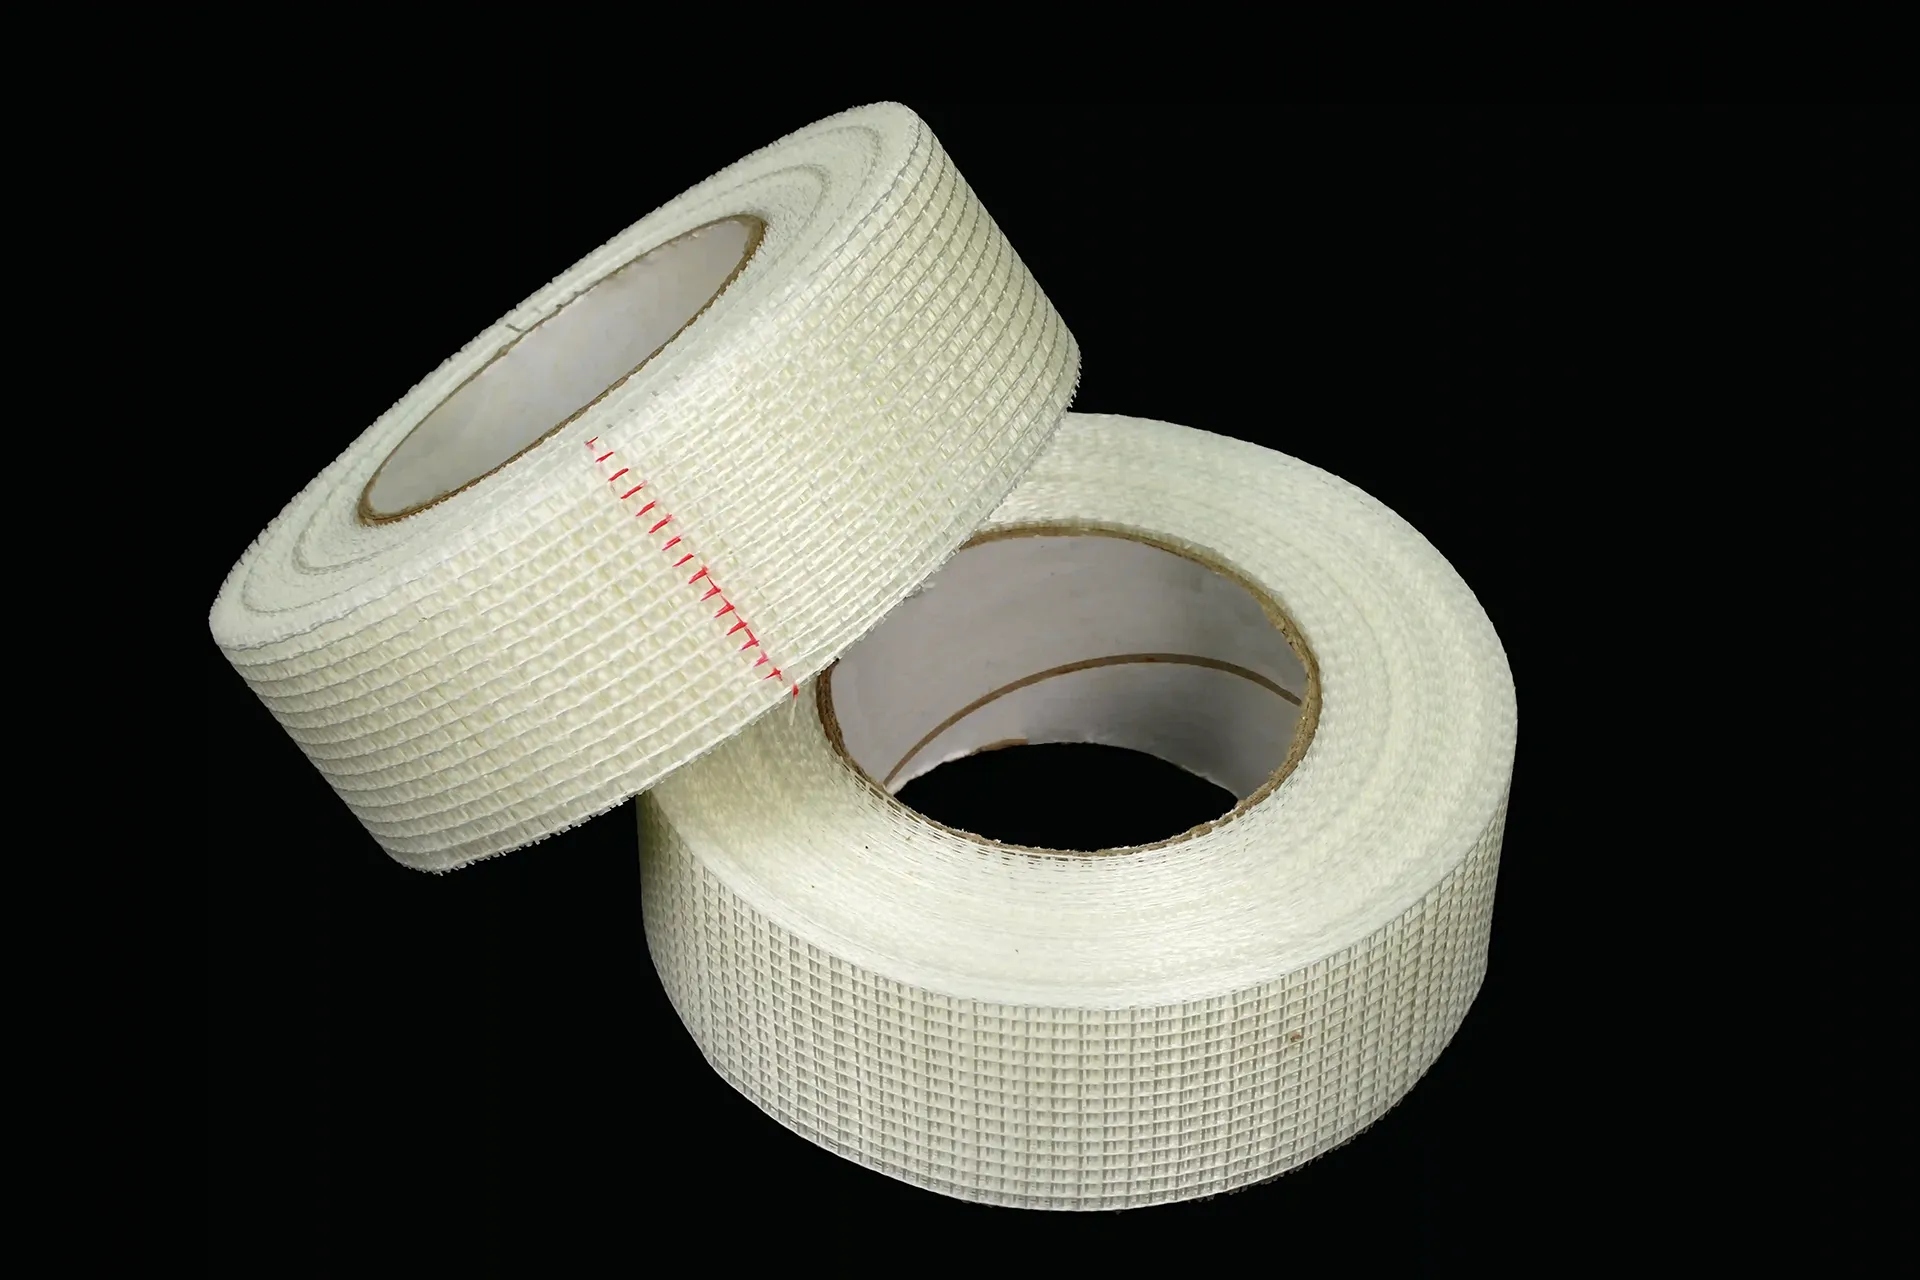
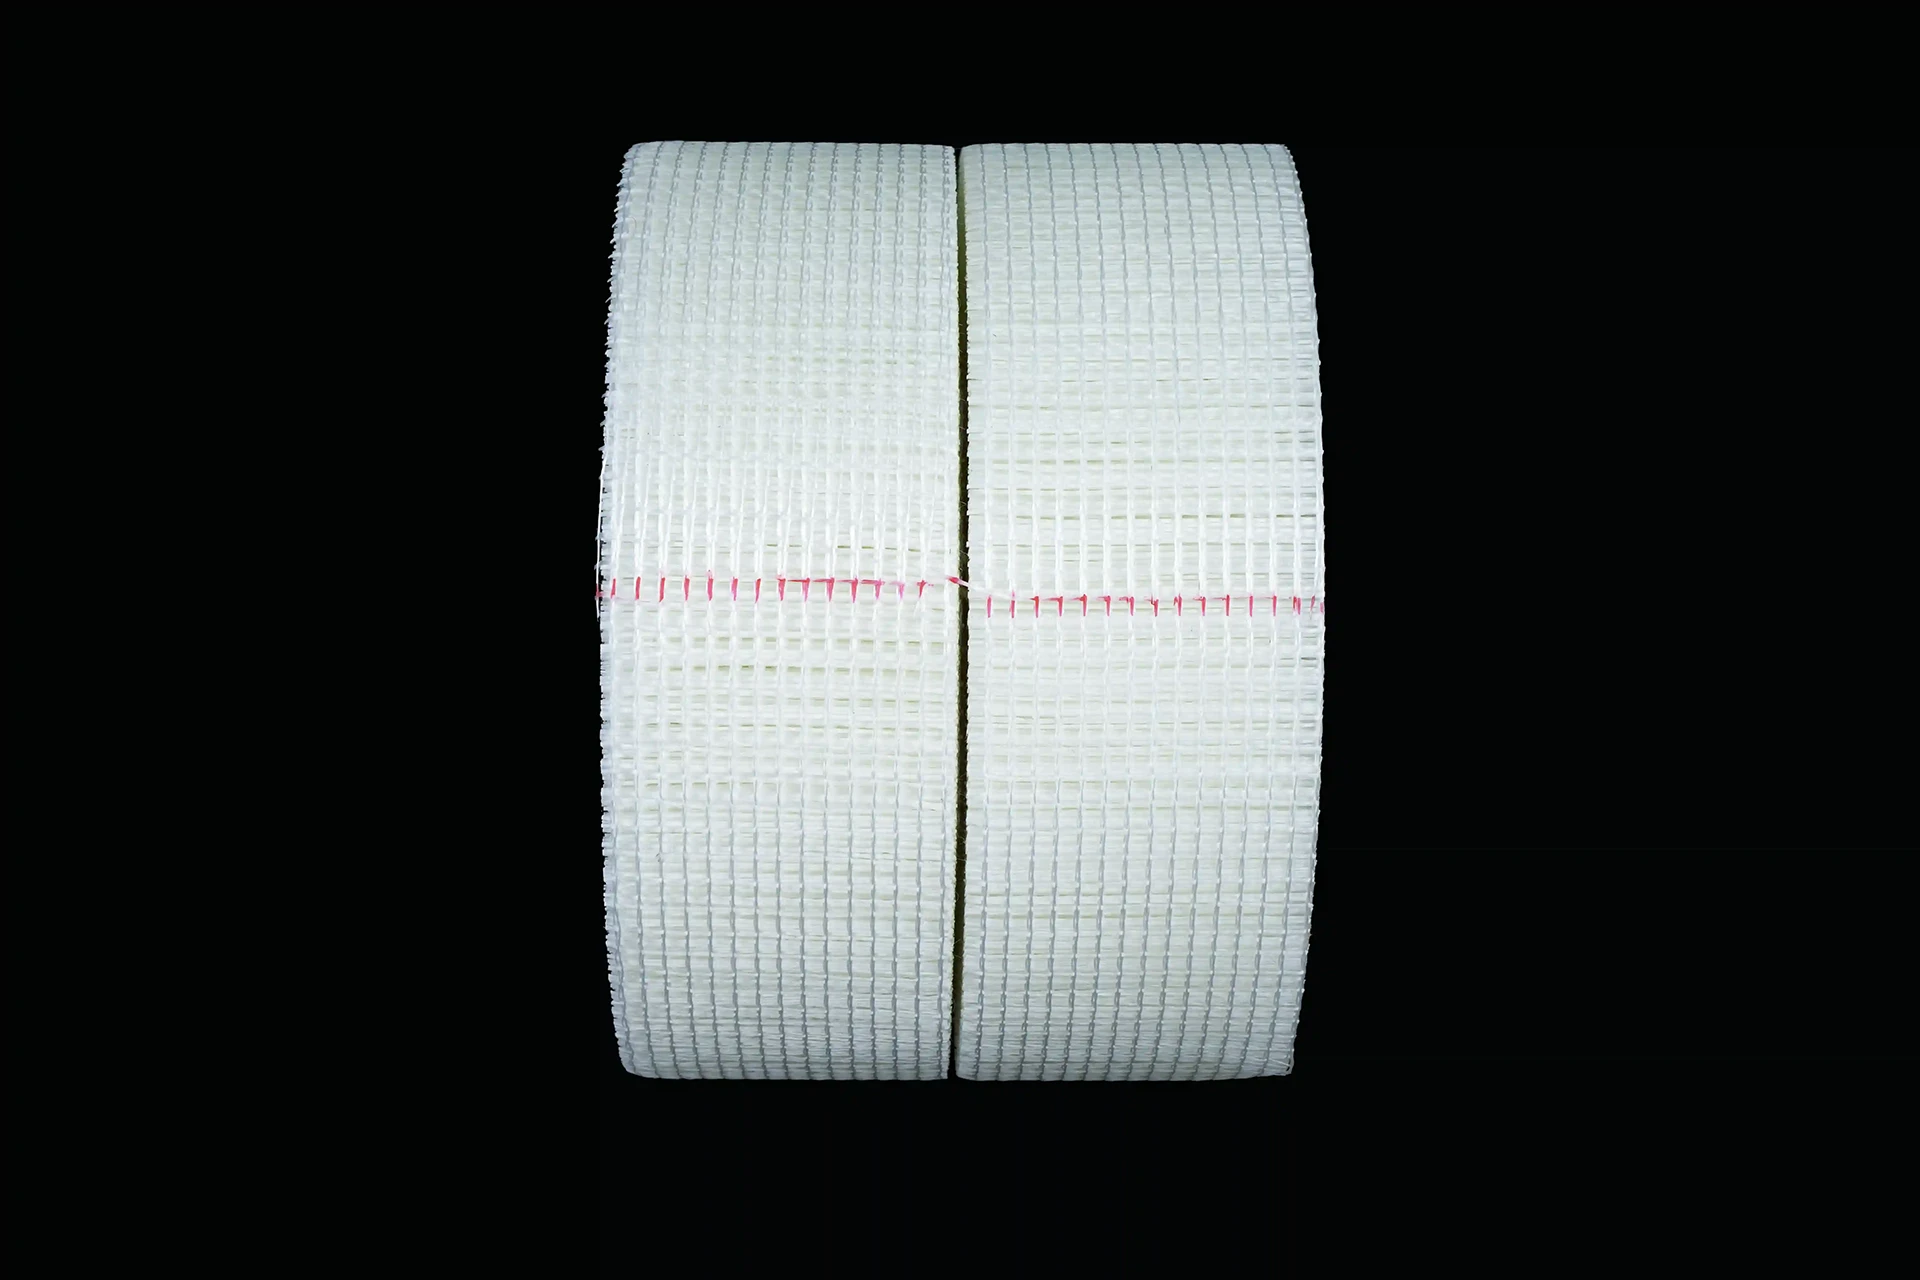
The skeleton inside every joint. Self-adhesive mesh fabric sticks across backer board seams, then disappears under sealant or adhesive as the reinforcement layer that keeps cracks from ever starting. 5 cm and 10 cm widths, long rolls.
| Material: | Alkali-resistant fiberglass mesh |
| Backing: | Self-adhesive |
| Widths: | 5 cm / 10 cm |
| Length: | Long rolls, per order |
Overview
A sealed joint is only as strong as what hides inside it. Elastic sealant flexes; boards move a little as the building breathes; and somewhere in year two, an unreinforced seam opens a hairline crack that works its way through the grout. The fix costs pennies and takes seconds: a strip of self-adhesive mesh across the joint, bedded in the sealant, so the seam flexes as one reinforced plane instead of two board edges arguing with each other.
The mesh is alkali-resistant fiberglass with a self-adhesive backing — press it across the seam, skim the sealant or tile adhesive over it, and the joint gains a skeleton. Two widths cover the work: 5 cm for standard board joints, 10 cm where a wider reinforced bed is the safer call. It is the same reinforcement logic our coated boards use on both faces, now applied to the seams between them.
It is also the forgiving half of the jointing pair. The sealant does the waterproofing; the mesh does the holding. Use both and the seam is elastic and armored. Use sealant alone and it is elastic until the day it is not.
One honest boundary: mesh fabric is reinforcement, not waterproofing. It belongs under sealant or adhesive, never instead of it. And on wide gaps or movement joints, follow the project spec — no strip of mesh repeals bad design.
See these accessories up close in our accessories video.
Applications
Backer board joint reinforcement
Corner and edge beds under sealant
Repair beds over cracked substrates
Embedded reinforcement in thin adhesive coats
Fixing
Press the mesh across the joint — the adhesive backing holds it while you work. Skim sealant or tile adhesive over it with a flat trowel until the mesh disappears, roughly half a millimetre of coverage, and run a corner trowel along internal angles. Bed it into the wet sealant on every seam, then flood test with the rest of the room before tiling.
Complete the System
One material system, one fixing pattern — these usually ship together.