
XPS Floor Heating Board
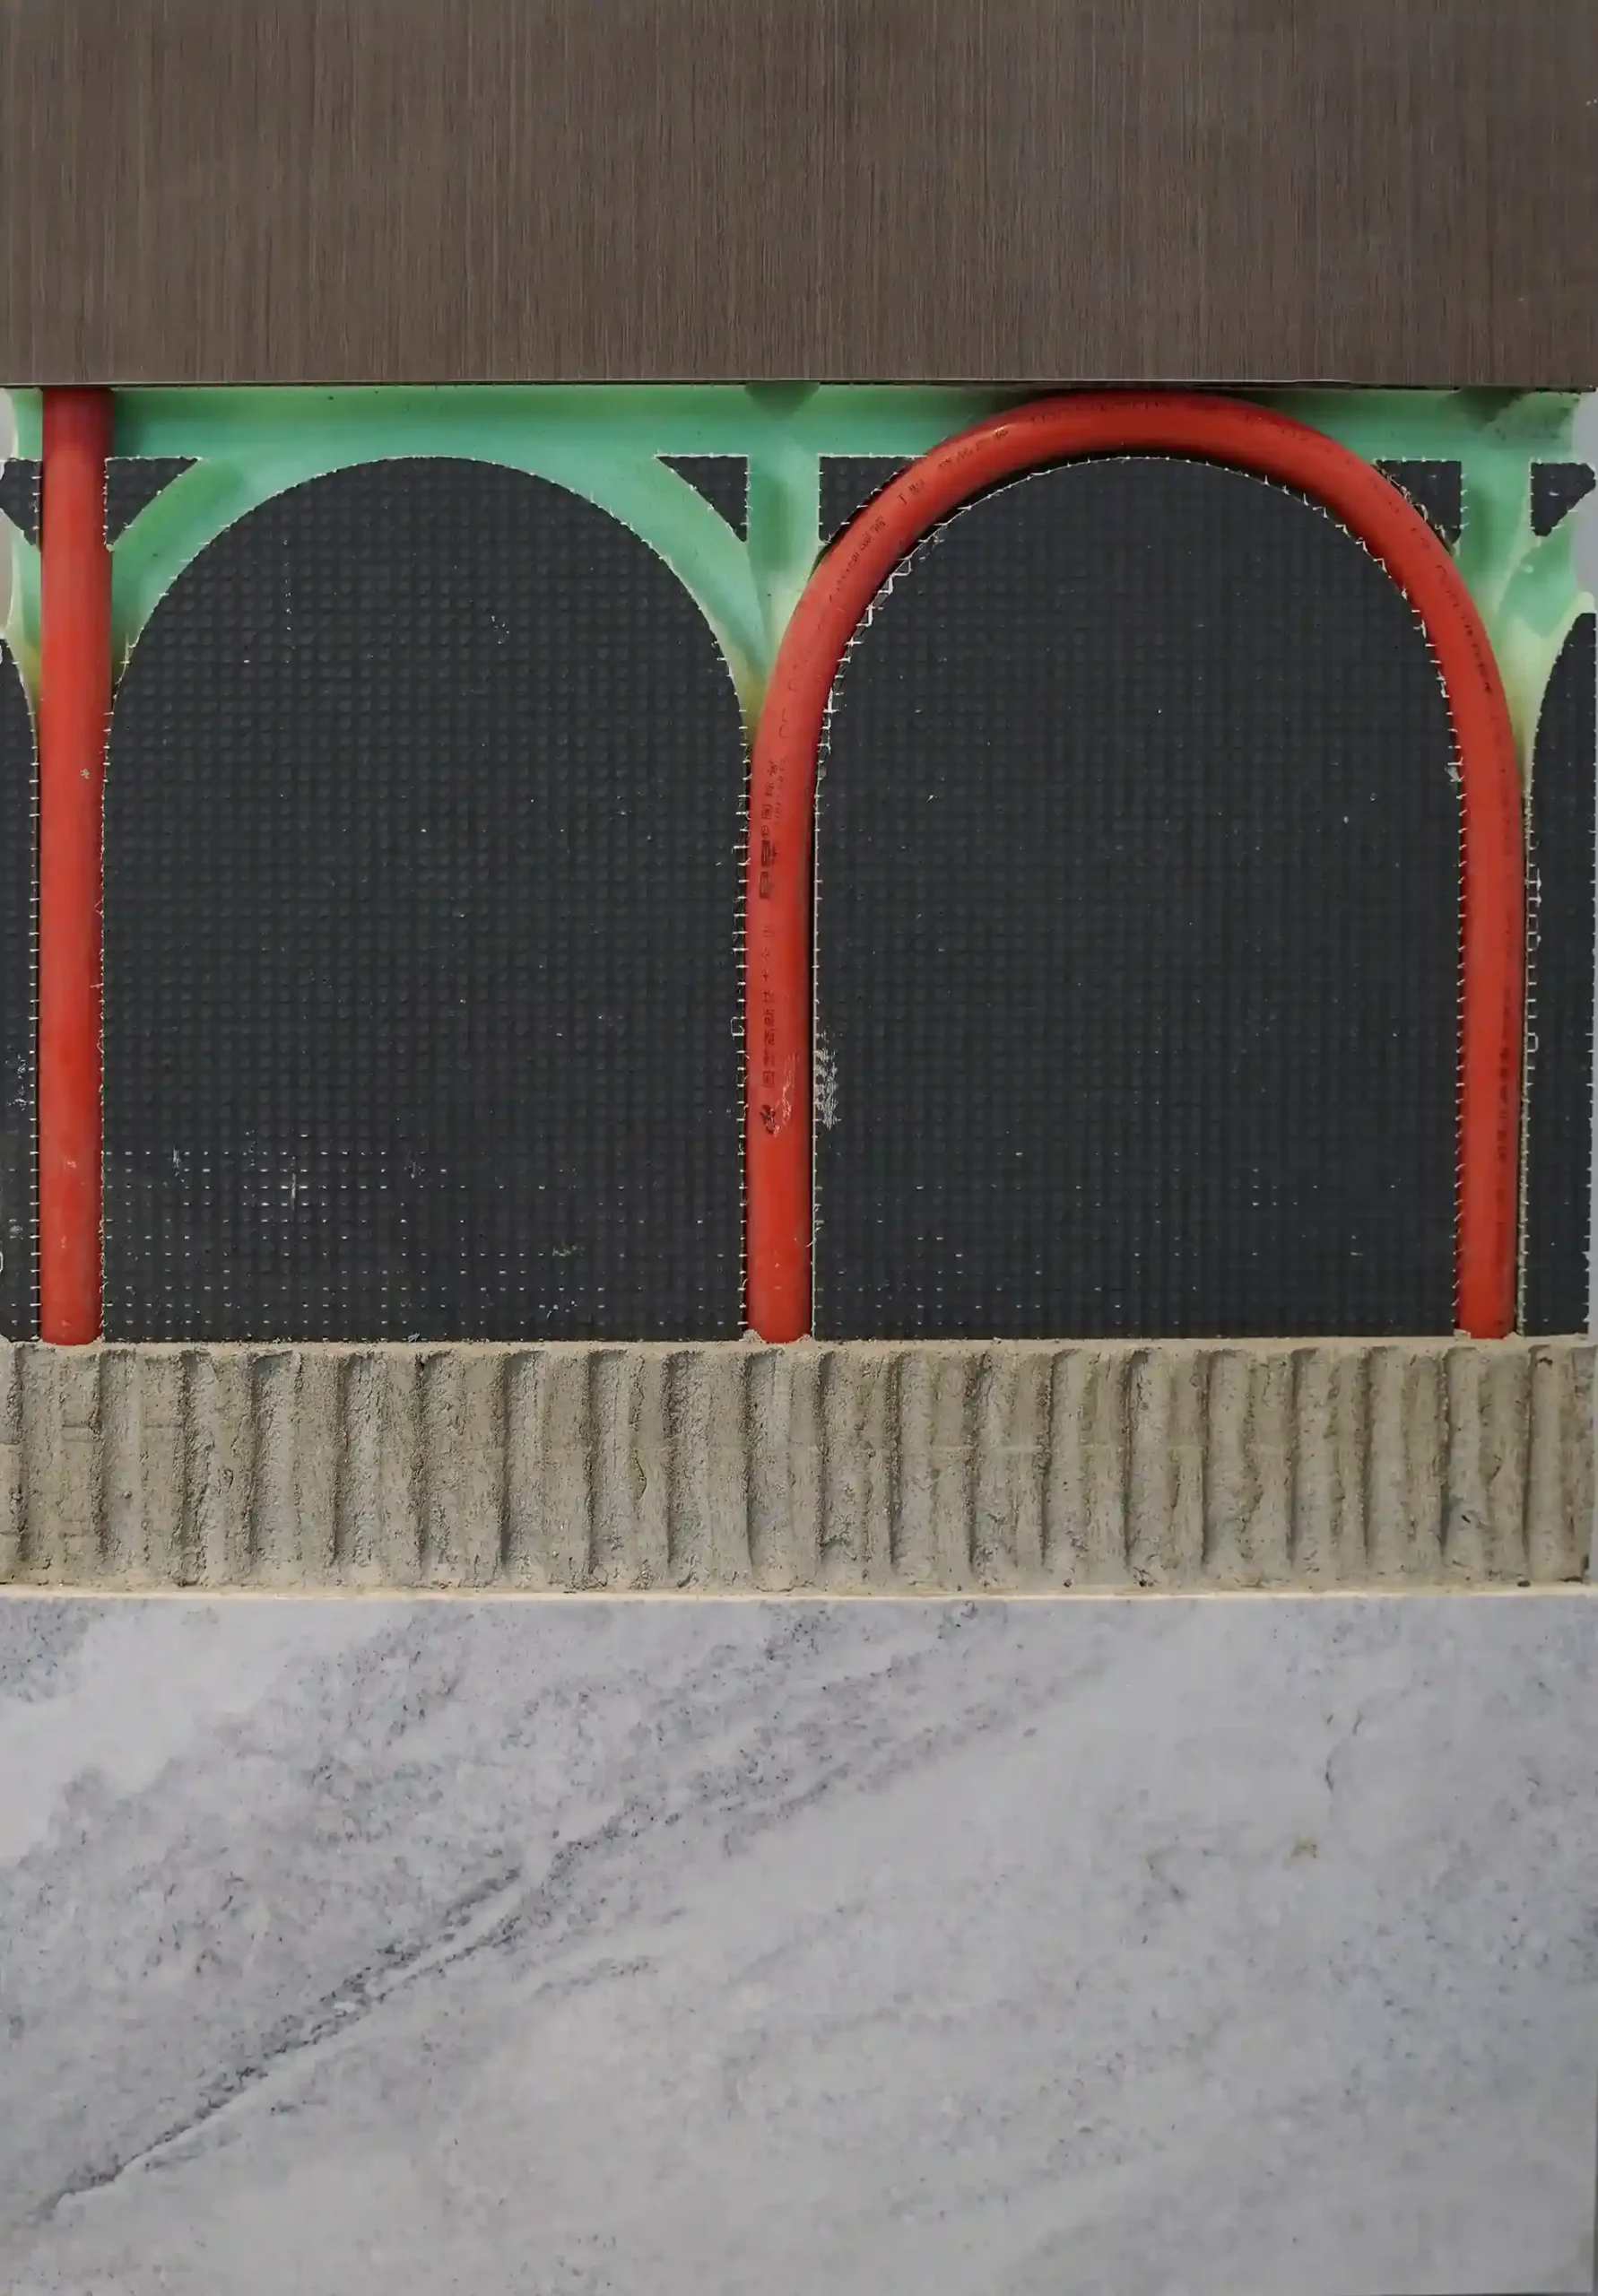
The insulation layer your heating loop is missing. Flat high-density XPS board for underfloor systems — lay it under overlay panels, or cut your own grooves on site. 0.030 W/(m·K) keeps the heat in the room, not in the slab.
| Core: | High-density XPS |
| Thermal conductivity: | 0.030 W/(m·K) |
| Options: | Flat, or grooved to drawing |
| Finish: | Tile or stone over screed |
Overview
The most expensive part of an underfloor heating system is the heat you pay for and never feel. Send the pipes straight onto a slab and a share of every heating bill leaks downward forever. The fix is not a better boiler. It is a worse conductor under the pipes: 0.030 W/(m·K) XPS between the loop and the concrete.
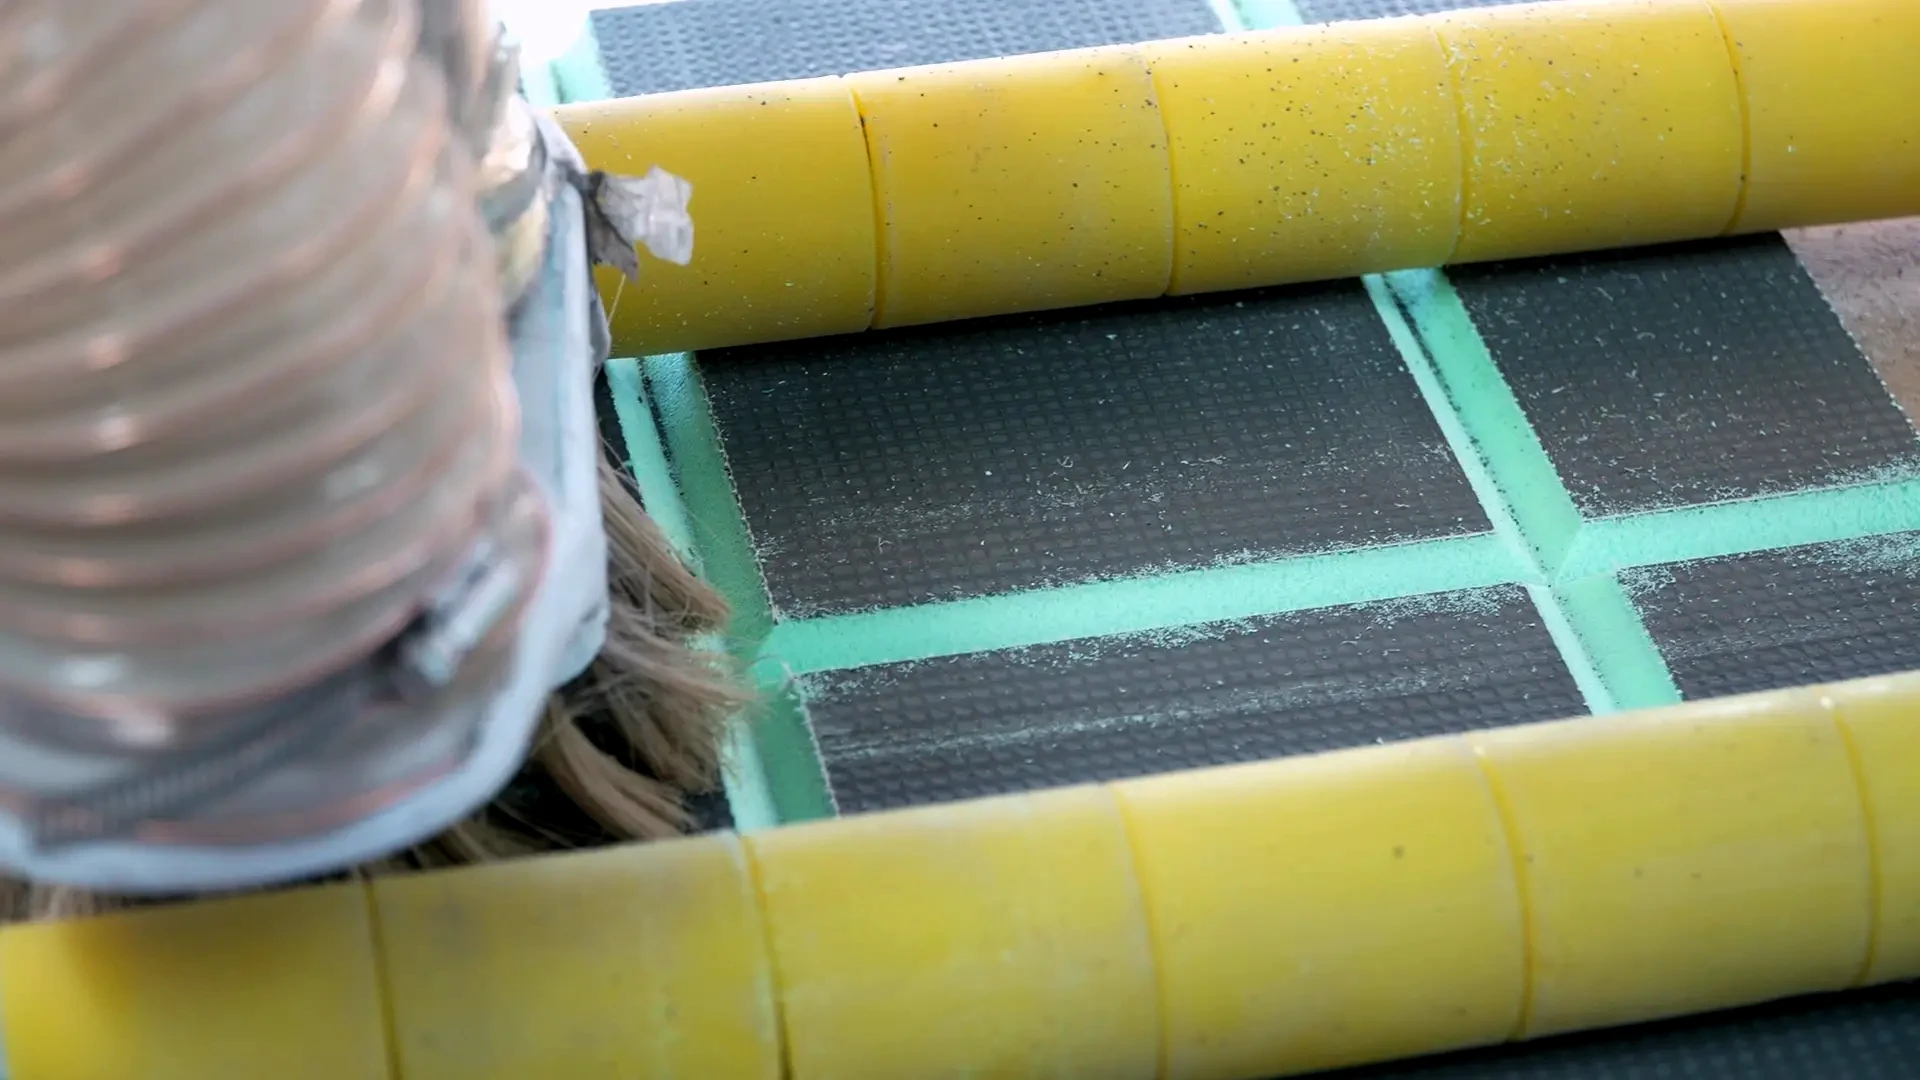
This board is the flat version of that layer, and it earns its place in two kinds of job. In overlay and raised-floor systems it goes under the pipe layer as the insulation substrate, cut to the room on site. In screed systems it doubles as the grooving base: mark the loop, run a tracking tool down the sheet, and the channels are cut in minutes — no dust from grinding concrete, and the groove depth is uniform because the tool rides the board, not your wrist.
It is the same material family as our backer boards: batch-tested high-density XPS, roughly 30% lighter than cement-based board, jointed with tape and sealant the way the whole system goes together. Boards of 20 mm and thicker also serve as the levelling and heating substrate for our wet-room floor method, so one material can carry the bathroom and the hallway in the same delivery.
Two honest boundaries: the board is not a structural deck — spans and point loads belong to the subfloor below it. And the board is never the finish layer — pipes need their screed or overlay coverage before any tile goes down. Insulation, geometry, structure, finish. Four jobs, four layers, and this one is the first.
Applications
Insulation substrate under overlay heating
On-site grooved bases for screed systems
Levelling layer beneath heated bathroom floors
Renovation floors over occupied rooms
Fixing
Level the subfloor, lay the boards with joints taped and sealed, then either set the overlay system on top or mark and cut the grooves with a tracking tool. Press the pipes in, embed mesh, and screed over — or close the overlay panels per that system’s own spec. Height build-up decides which road you take, so measure it before you order.
Complete the System
One material system, one fixing pattern — these usually ship together.